Your ultimate guide to migrating from Google Workspace to Nextcloud
What is Nextcloud and why should you migrate to it?
Nextcloud is an open source content collaboration suite that has most of the features available in Google Workspace (formerly GSuite, formerly “Google Apps” if you can remember that far back).
If you want to host your own private Docs, Email, Calendar, and Contacts Nextcloud is the tool for you and this is your guide!
Note: There is an API based process to import contacts, docs, and other data. Migrating email requires a bit of manual setup, but don’t worry we’re here to help.
Here’s the migration process:
- Install Nextcloud
- Enable Nextcloud apps
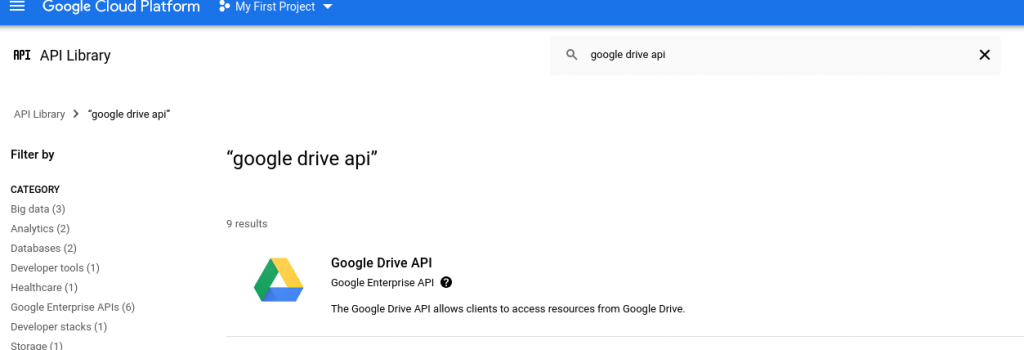
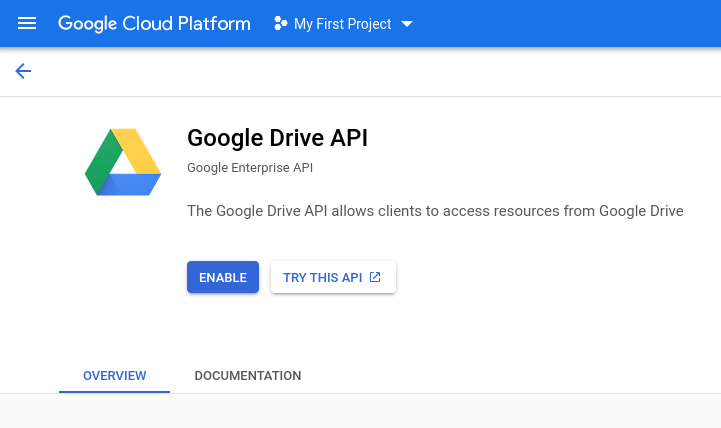
- Add Google API tokens and enable Google API access
- Migrate your data
- Import email
Install Nextcloud
Here at Opalstack we provide an installer so installing Nextcloud is super easy . Navigate to the Applications page in the Dashboard and click Create Application. Next, set up a site on the Domains page. The last step is to edit the ~/apps/yournextcloudapp/config/config.php file and add your domains to the trusted_domains array and overwrite.cli.url with your domain. Connect with SSH or FTP to edit the file on the server.
'trusted_domains' =>
array (
0 => 'cloud.example.com',
),
'overwrite.cli.url' => 'https://cloud.example.com',
Enable Nextcloud apps
Nextcloud comes with a set of plugins called ‘apps’. To enable the apps you want, go to the Apps option on the main application menu:


Enable these apps:
- Google Integration
- Calendar
- Contacts
Enable Google API access
Go to Settings (right above apps in the screenshot above). Then go to Connected Accounts under Administration. You should see the Google Integration instructions. Follow those instructions to find the API key, enable API access, create an oAuth profile, and add the Authorized redirect URI to Google’s API settings.
(If you run into errors later while viewing the data migration page, come back to this step and make sure you have enabled Google API Access in your Google API settings.)
Run the data migration
Back in Nextcloud, go to Settings > Data Migration and start importing each item. Large imports may take a while. The import is processed by the application’s cron task in the background.
Import email
There are 2 ways to export (from Google) and import (to Opalstack) your email.
- IMAP copy
- Direct mailbox import
You can learn how to do both in our documentation.
You can get an mbox export from Google Takeout.
To set up your email addresses and mailboxes you can view our complete guide on email.
Extra information
While doing the research for this post and preparing our backend to help with the mbox imports. I stumbled on a very old bug in mb2md.pl. Since it is not documented anywhere else, I decided to throw it in here (you’re welcome). If you have ever had the dreaded Fatal: Source is not an mbox file or a directory! error trying to convert a Gmail Takeout mbox to Maildir, here’s the solution!
$ mb2md.pl -s foo.mbox
Fatal: Source is not an mbox file or a directory!
The problem is in these lines of Perl:
555 # see if the user has specified a source directory
556 elsif (defined($opts{s}))
557 {
558         # if opts{s} doesn't start with a "/" then
559         # it is a subdir of the users $home
560         # if it does start with a "/" then
561         # let's take $mbroot as a absolut path
562         $opts{s} = "$homedir/$opts{s}" if ($opts{s} !~ /^\//);
563
564         # check if the given source is a mbox file
565         if (-f $opts{s})
566         {
567                 $mbfile = $opts{s};
568         }
569
570         # otherwise check if it is a directory
571         elsif (-d $opts{s})
572         {
573                 $mbroot = $opts{s};
574                 # get rid of trailing /'s
575                 $mbroot =~ s/\/$//;
576
577                 # check if we have a specified sub directory,
578                 # otherwise the sub directory is '.'
579                 if (defined($opts{f}))
580                 {
581                         $mbdir = $opts{f};
582                         # get rid of trailing /'s
583                         $mbdir =~ s/\/$//;
584                 }
585         }
586
587         # otherwise we have an error
588         else
589         {
590                 die("Fatal: Source is not an mbox file or a directory!\n");
591         }
592 }
To fix the error use the full file path (that fits the rules in the code) to the mbox file, like this:
$ mb2md.pl -s /home/mboxin/gmail/Takeout/Mail/foo.mbox
Converting /home/mboxin/gmail/Takeout/Mail/foo.mbox to maildir: /home/mboxin/Maildir
Source Mbox is /home/mboxin/gmail/Takeout/Mail/foo.mbox
Target Maildir is /home/mboxin/Maildir
WARNING: UID from X-UID: header too low. Ignoring it (line 58528268, msg 88041).
226478 messages.
If you are an Opalstack customer then you don’t need to worry about that bug. You can upload your mbox file, let us know where it is and which mailbox it should belong to, and we’ll handle the conversion for you.
If you’re not an Opalstack customer, it’s a great time to become one. Our 3rd Birthday Promotion is still going and you can get 3 months free if you SIGN UP for a yearly plan now!
Our awesome support team can help you out if you run into any problems!
— John and the Opalstack Team